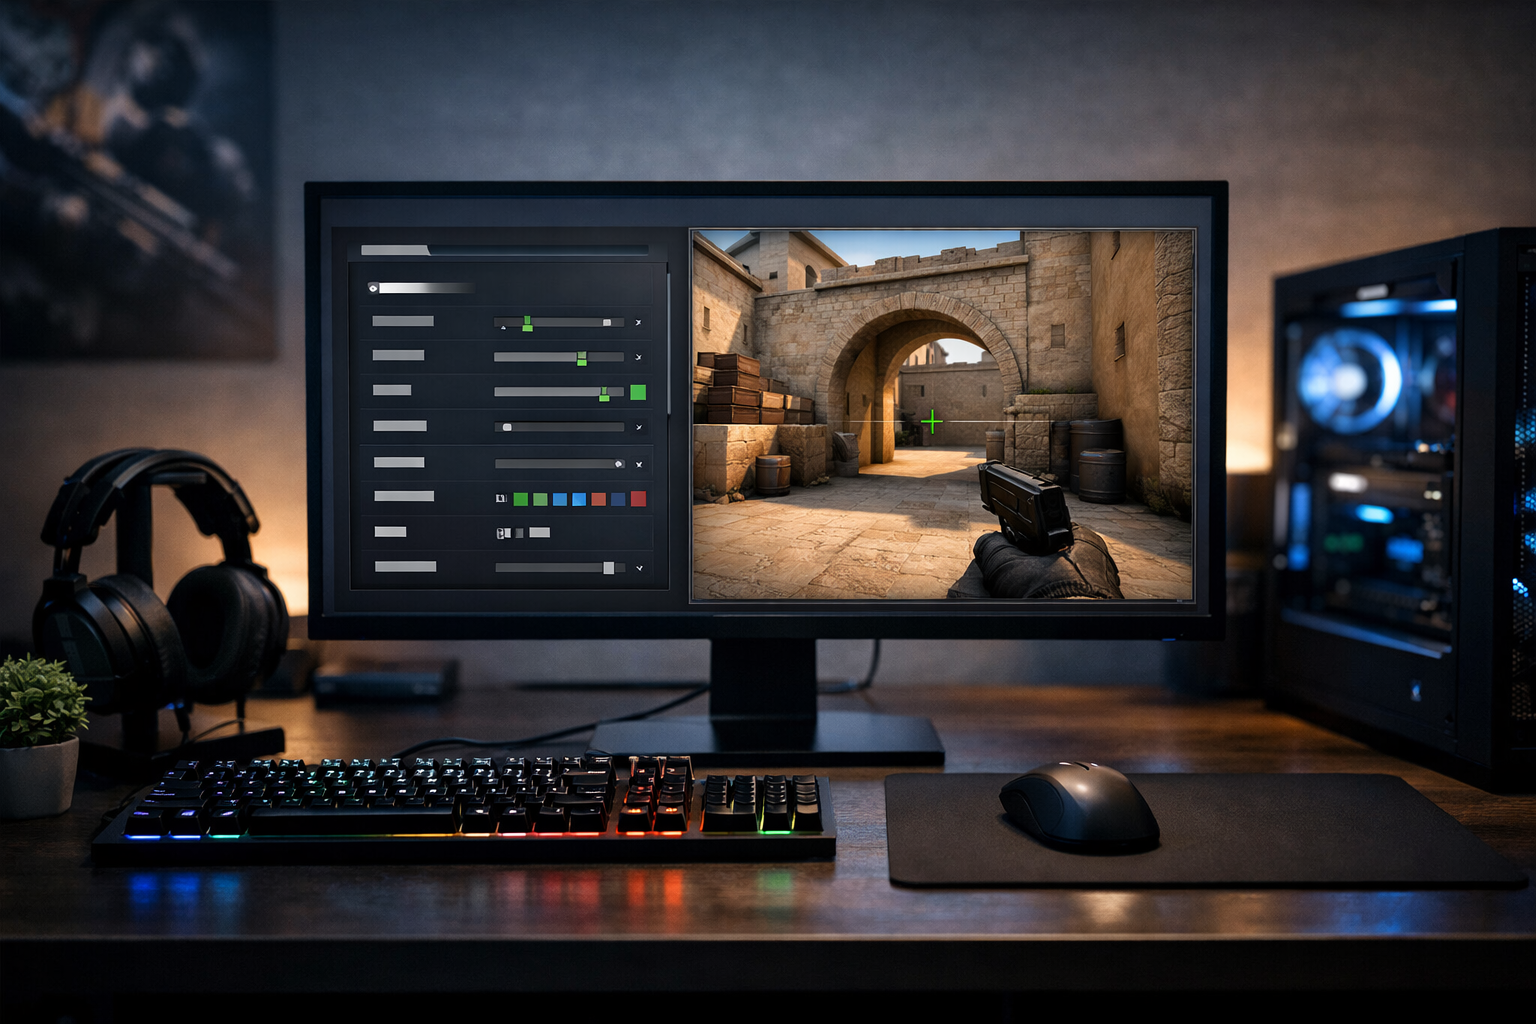
How to import a crosshair in cs2 step by step
Import crosshair CS2 steps are simple once you know where the menu is. To import a crosshair in CS2, open the crosshair settings, paste a share code, and save the result before testing it in a match or workshop map.
TL;DR
- Open CS2 crosshair settings, paste a share code, and save the imported profile.
- Test the imported crosshair in real map situations before deciding it works for you.
- Adjust one setting at a time so you can keep what improves visibility and aim.
If you want a fast way to copy a setup, import crosshair CS2 options are built directly into the game. You do not need console commands for the basic method, and you can switch between imported styles in seconds.
That matters because a crosshair affects how clearly you track heads, hold angles, and control spray. A good import saves time, but the best result still depends on testing size, gap, thickness, and visibility for your own screen and resolution.
For a quick starting point, browse CS2 crosshair examples and pick a style that matches how you aim. If you already have a code from a friend or creator, you can move straight into the import process.
What importing a crosshair in CS2 actually does
When you import crosshair CS2 settings, the game reads a share code and applies a full crosshair profile. In many cases, that includes length, thickness, gap, outline, color, center dot, and alpha values.
This is useful because it removes guesswork. Instead of rebuilding a crosshair line by line, you can copy a complete setup and then make small edits after a few rounds.
It also helps when you want to try a pro-style look without claiming one exact setup is best for everyone. If you want a reference point, you can check a page like Magisk CS2 settings and use that style as a comparison, then adjust it to your own preference.
Import crosshair CS2 workflow: the fastest method
The easiest method is through the in-game settings menu. This is the standard workflow most players use, and it is the safest place to start if you are new to crosshair codes.
- Open CS2 and go to Settings.
- Select the Game tab, then open Crosshair.
- Find the Share or Import option.
- Paste the crosshair code into the field.
- Confirm and save the imported crosshair.
After you paste the code, the preview should update right away. If nothing changes, check for an extra space at the start or end of the code, because that can stop the import from working.
Once the crosshair appears, save it as one of your available profiles. That makes it easier to return to the imported version after you test other changes.
If you do not have a code yet, the CS2 crosshair generator can help you build one visually. That is often faster than guessing values from screenshots.
How to apply an imported crosshair in a real match setup
After you import crosshair CS2 settings, do not judge them from the menu alone. A crosshair can look clean in the preview but feel too small, too bright, or too busy once you are moving through real maps.
Start in a practice server or offline match. Check how the crosshair looks against common backgrounds like Mirage walls, Inferno apartments, and Overpass water areas, because visibility changes a lot by map and lighting.
Then test three core situations. First, hold a tight angle and see whether the gap helps you place the center on a head. Second, spray at medium range and watch whether the shape stays readable. Third, strafe and stop to confirm the crosshair does not distract you during timing shots.
Many players also compare two or three imported styles before settling on one. If you want another reference, a player page such as Plopski CS2 settings can give you a different baseline to compare with your current setup.
Adjust the imported crosshair without ruining it
The biggest mistake after import is changing too many values at once. If you edit length, gap, thickness, color, and outline together, you will not know which change actually helped.
Make one small adjustment, then test it for at least a few rounds. In many cases, the best first edits are color and gap, because those affect visibility and precision more than most players expect.
A simple workflow works well here. Keep the imported version as your base profile, duplicate it if needed, and create one variation for close-range comfort and one for long-range clarity.
Be careful with very tiny crosshairs on lower resolutions or smaller monitors. They can feel precise in aim drills but become hard to track during fast peeks, utility pressure, or messy retakes.
When an imported crosshair may not suit you
An imported code may not fit if your resolution, brightness, or monitor settings differ a lot from the original source. A color that stands out on one display can blend into the map on another.
Your role can matter too. Entry players often prefer a crosshair that stays easy to read during fast movement, while more passive angle holders may prefer a cleaner and smaller look.
Monitor clarity also changes perception. If you are tuning your full setup, a display page like the BenQ ZOWIE XL2546K gives context for why some crosshairs appear sharper on certain screens.
Check the result and fix common import problems
If the import fails, the code is usually the issue rather than the game. Recopy it carefully, remove extra spaces, and make sure you pasted the full share code into the correct field.
If the crosshair imports but feels wrong, compare it in motion rather than in the menu. A style that seems perfect while standing still can often feel off once recoil, strafing, and map contrast come into play.
Another common problem is copying a crosshair only because a strong player uses something similar. That can be a useful starting point, but it does not guarantee comfort or consistency for your own aim.
The practical next step is simple: import one code, play a short test session, change only one value, and save the better version. That repeatable process is the fastest way to make import crosshair CS2 choices work for your own matches.
FAQ
Where do I paste a CS2 crosshair code?
Open CS2, go to Settings, then the Crosshair section under the game options. Use the import or share code field, paste the full code, and confirm it. If the preview does not change, recopy the code and remove any extra spaces before trying again.
Can I edit a crosshair after importing it?
Yes, imported crosshairs are meant to be adjusted. You can change color, gap, thickness, outline, and other values after the code is applied. The best approach is to change one setting at a time, then test it in a practice server or match so you know what improved.
Why does an imported crosshair feel wrong in matches?
A crosshair can look good in the menu but feel different during real play. Resolution, monitor clarity, map lighting, and your role can all affect comfort. Test the crosshair while holding angles, spraying, and taking quick peeks before deciding whether to keep or adjust it.